Want to see what I was working on last week?
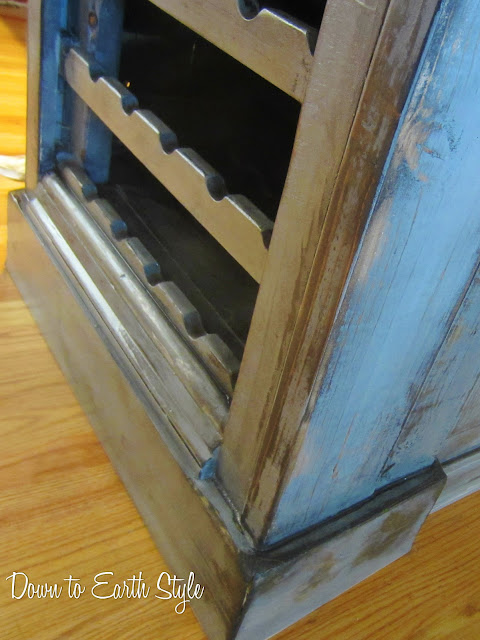
Painted in a slate color (a special mix of a few).
The family wanted this wine rack that was given to them incorporated into the island.
So I rebuilt the rack to fit on one end. It was 4 inches too wide so I made a frame the size I needed it to be. I attached it to the wine rack and cut the piece down to size with my table saw.
I wasn't exactly sure how to do this at first but it worked out in the end....
On the back of the island I applied new and old wood.
(some of these pictures I took with my phone... =/ )
I used 2x6's and 2x4's to make the legs chunky.
1x6's for the feet.
Add two wooden brackets to the back for the butcher block top overhang.
The butcher block top was from the house that Liam grew up in. I rubbed it with some dark walnut and a bit of ebony stain.
I hand pick the wood so that I get pieces with good rough character.
(the guys at the lumber store used to think I was crazy - I made them look up my blog)
I seal the painted island with satin laquer. Laquer is not usually recommended because it can eat up the paint....that's exactly why I use it.
(I don't have a tutorial on exactly how to do this - you just have to play around with it to see what works for you)
I painted a lot of the island black first so that when the laquer eats the paint up here and there - the black will show through. This picture above is an example.
We were going for a RUSTIC, OLD and FUNKY look....
I think we "nailed" it!
A BOLD statement piece for this kitchen remodel.
(I love when people are brave enough to let me do these projects in their home)


0 comments:
Posting Komentar